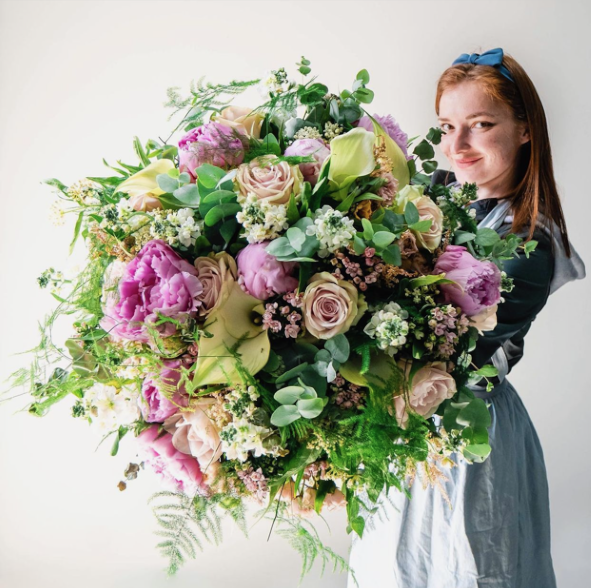
8 Simple Steps to Create an Impressive Flower Arrangement
Posted by Libbi Cohen on 13th Jun 2022

While vibrant, eye-catching flower arrangements may look expertly, they don't necessarily take an expert to create. Whether you’re looking for a stunning centrepiece for your dinner table, or simply want to add some extra colour to your home, a flower arrangement does the perfect job. Follow this simple guide and learn how to create your very own professional-looking flower arrangement that will guarantee to impress. From this comprehensive guide, you will learn how to expertly select the perfect flower combination for your bouquet and discover the simple techniques needed to create a stunning flower arrangement.
Step 1: Choosing the Right Flowers
Since flowers are the essence of a bouquet, we have to begin by choosing the right flowers. Here are some simple tips for choosing the perfect flowers:
- Choose a colour scheme
Whether you’re creating a bouquet to spruce up your home or as a flower table arrangement for an event, matching the colour scheme of your space will certainly help. Pick flowers that complement the colour palette of your chosen space and ensure that the flowers themselves complement each other. It is also a good idea to add greenery to your arrangement for extra colour and texture.
- Consider the season (and your budget)
In-season blooms are ideal - they are often cheaper and fresher than off-season blooms, as well as giving your bouquet a seasonal feel. It is also worth noting that flowers such as orchids, roses, and hydrangeas are available year-round so are also good options for your bouquet.
- Choose flowers that will fit into your vessel
A tall vase should be filled with long-stemmed flowers, such as irises, sweet peas, lilies, and orchids, as well as flowering branches. A shorter vase can be filled with flowers of a range of heights: simply choose your flowers and cut the stems so that all flowers are the same height. Flowers with larger heads should be added first, forming the focal point of the arrangement, and flowers with smaller heads should be added afterwards.

tep 2: Prepare Your Flowers
Although the flowers may look ready to place in your vase, they must be prepared before use so that they look nicer and last longer. Firstly, using your hands or a pair of scissors, remove any damaged petals, extra leaves, and thorns (if necessary). Once the flowers are looking more presentable, cut the stems diagonally. Cutting the stems is not only to ensure that all stems are the same length, but it will also help the flowers to soak up the water and therefore last longer. Lastly, place the finished flowers into a vessel filled with water and add flower food.
Step 3: Choose Your Vase
The vase you choose for your arrangement depends on which flowers you have chosen. For example, if the flowers are with long stems, you may wish to use a tall vase. However, if you have chosen flowers of a range of lengths, a shorter, wider vase may be preferable. It is also important to consider the weight of your flowers as top-heavy flowers may need a heavier vase.
Even if a traditional vase may seem like the most appropriate choice, you may also wish to consider other interesting vessels, such as a woven basket, or even a pumpkin! (keep reading for some interesting flower arranging ideas).
Step 4: Prepare Your Vase
It is not only the flowers that need to be prepared for the arrangement, but also the vase. Follow these simple steps to prepare your chosen container.
For a traditional vase: Firstly, ensure that the vase is clean. Then add water and flower food. To ensure that the flowers remain sturdy and in place, you may wish to create a grid of floral tape over the opening of the vase. Placing the stems in the gaps of the grid will keep them in place. Alternatively, you can create a sturdy base using your greenery as lots of greenery will keep the flowers in place.
Step 5: Create a Base Using Greenery
Greenery adds contrast, texture and colour to your flower arrangement and is a good base for your bouquet. Despite adding greenery last may seem like the more natural choice, adding it first not only helps to create a more natural-looking bouquet. Also, it serves as a good foundation to hold the flowers in place. Common types of greenery in use are ivy, myrtle and eucalyptus. Remember to prepare the stems like you did for the flowers, by cutting them and removing any thorns or excess leaves.
tep 6: Add your Focal Flowers
These are usually the flowers with the largest blooms, or those with the most striking shape or colour and so will become the focal point of your flower arrangement.
Step 7: Add the Rest of Your Flowers
Add your smaller flowers to the arrangement, to surround the focal flowers in the middle. Layer in each variety of flower, working in a circle and turning the vase while you work. Avoid placing the flowers straight up or on the sides as this will make the flower arrangement look uneven and messy. An easy way to ensure that your flower arrangement is even and tidy is by imagining that your arrangement is in a dome shape, of which all angles must be covered.
Step 8: Finishing Touches
You may wish to add smaller, more delicate flowers to your flower arrangement, such as baby’s breath and rock cress. It is important to leave these smaller flowers until last so that they do not get crushed and damaged by the larger, heavier flowers. If needed, refill your vase with water to keep your flowers hydrated. When the flowers start to die, simply remove them from the arrangement as this will help to prolong the lives of the other flowers. It is also worth noting that the greenery tends to survive a couple of weeks longer than the flowers. Once your flowers have died, you can keep the greenery and simply switch the dead flowers for fresh ones.
Bonus Ideas for Your Flower Arrangement
A Pumpkin Flower Arrangement
Using a pumpkin as a vase may seem like an unconventional choice, but it creates a unique, easy centrepiece to give your chosen space a seasonal feel. Whether you are hosting a seasonal party or simply want to give your home an autumnal vibe, a pumpkin flower arrangement is guaranteed to impress guests.
What you will need:
- A pumpkin
- Tools to cut and scoop the pumpkin and poke holes into the foam
- Floral foam
- Plastic bag
- Flowers and greenery
Instructions:
- Poke holes into some floral foam, for the flowers to go into
- Cut off the top of the pumpkin and scoop out the seeds and insides
- Place a plastic bag inside as a lining to keep your floral foam wet for longer, which will prolong the lifespan of the flowers
- Place your floral foam in water for a few minutes, until it starts releasing bubbles, then place it into the pumpkin
- Insert your flowers into the foam, working in a circle, ensuring you cover all of the floral foam
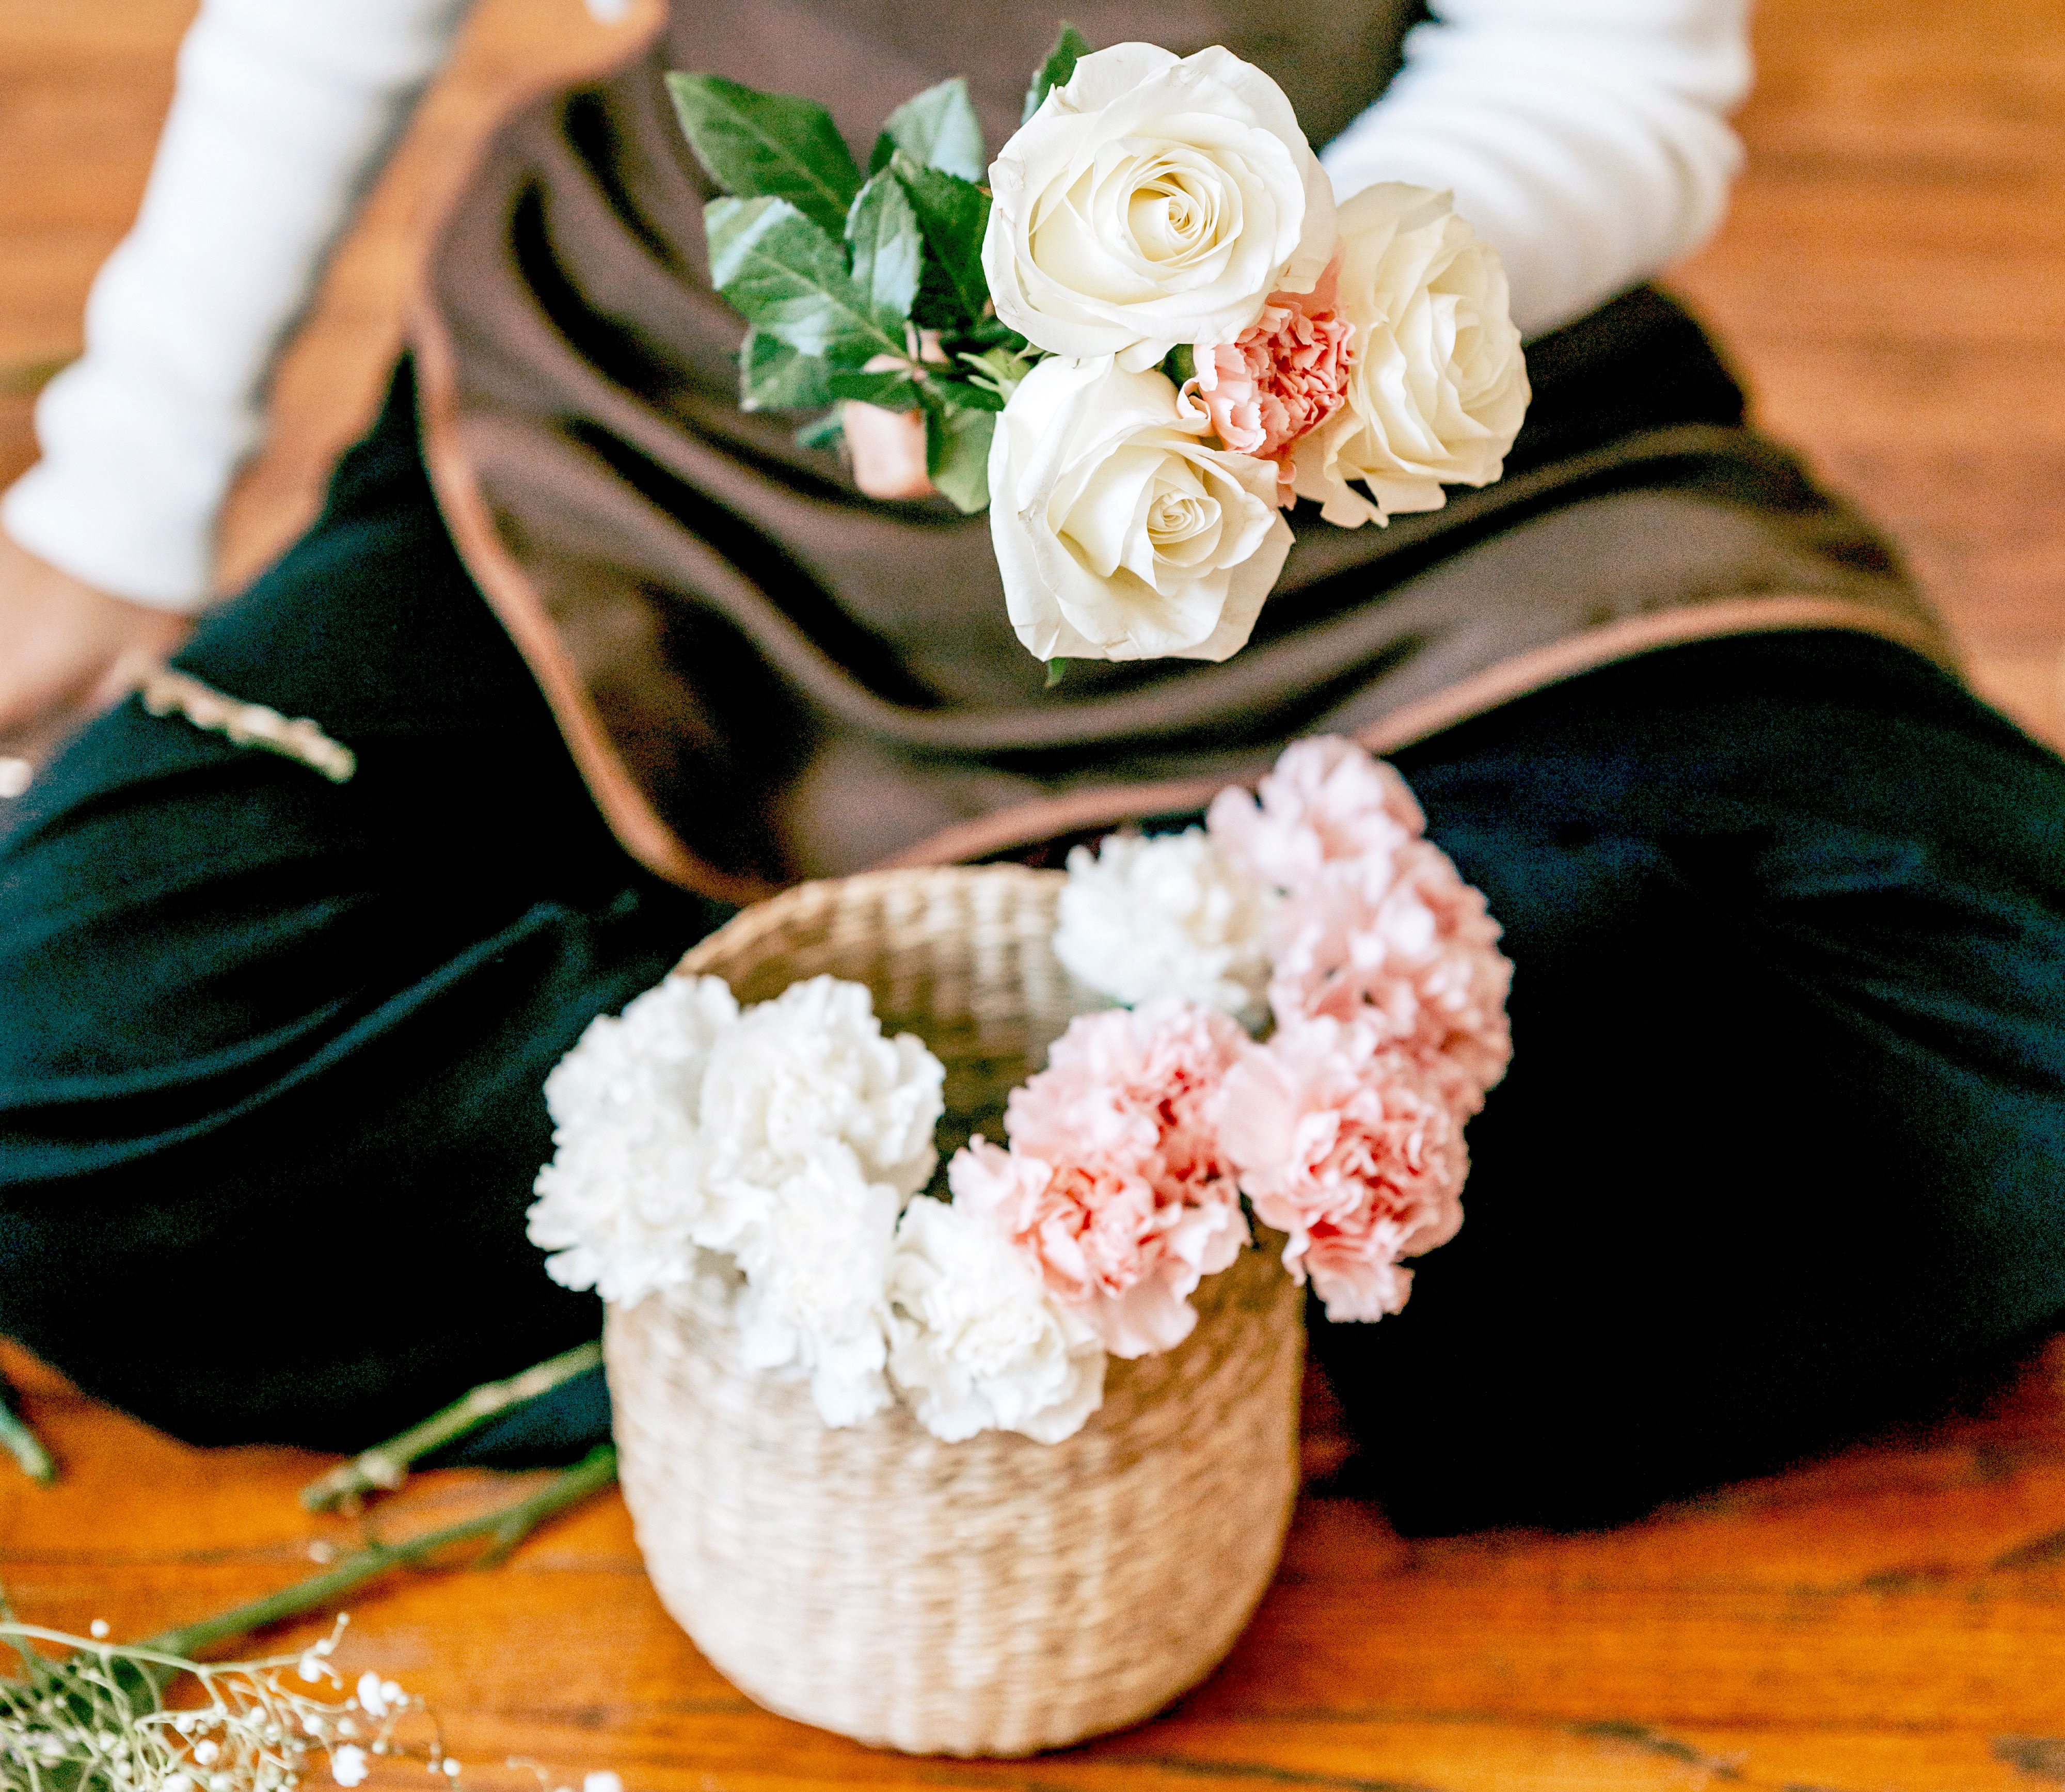
Flower Arrangements in Baskets
Firstly, line the basket with a plastic liner to protect it from mould or rot. Then, like with the pumpkin, prepare your floral foam by poking holes into it and soaking it in water. Then add the floral foam to the lined basket. Then, simply add your flowers and greenery, starting at the centre, working outwards in a circular motion.
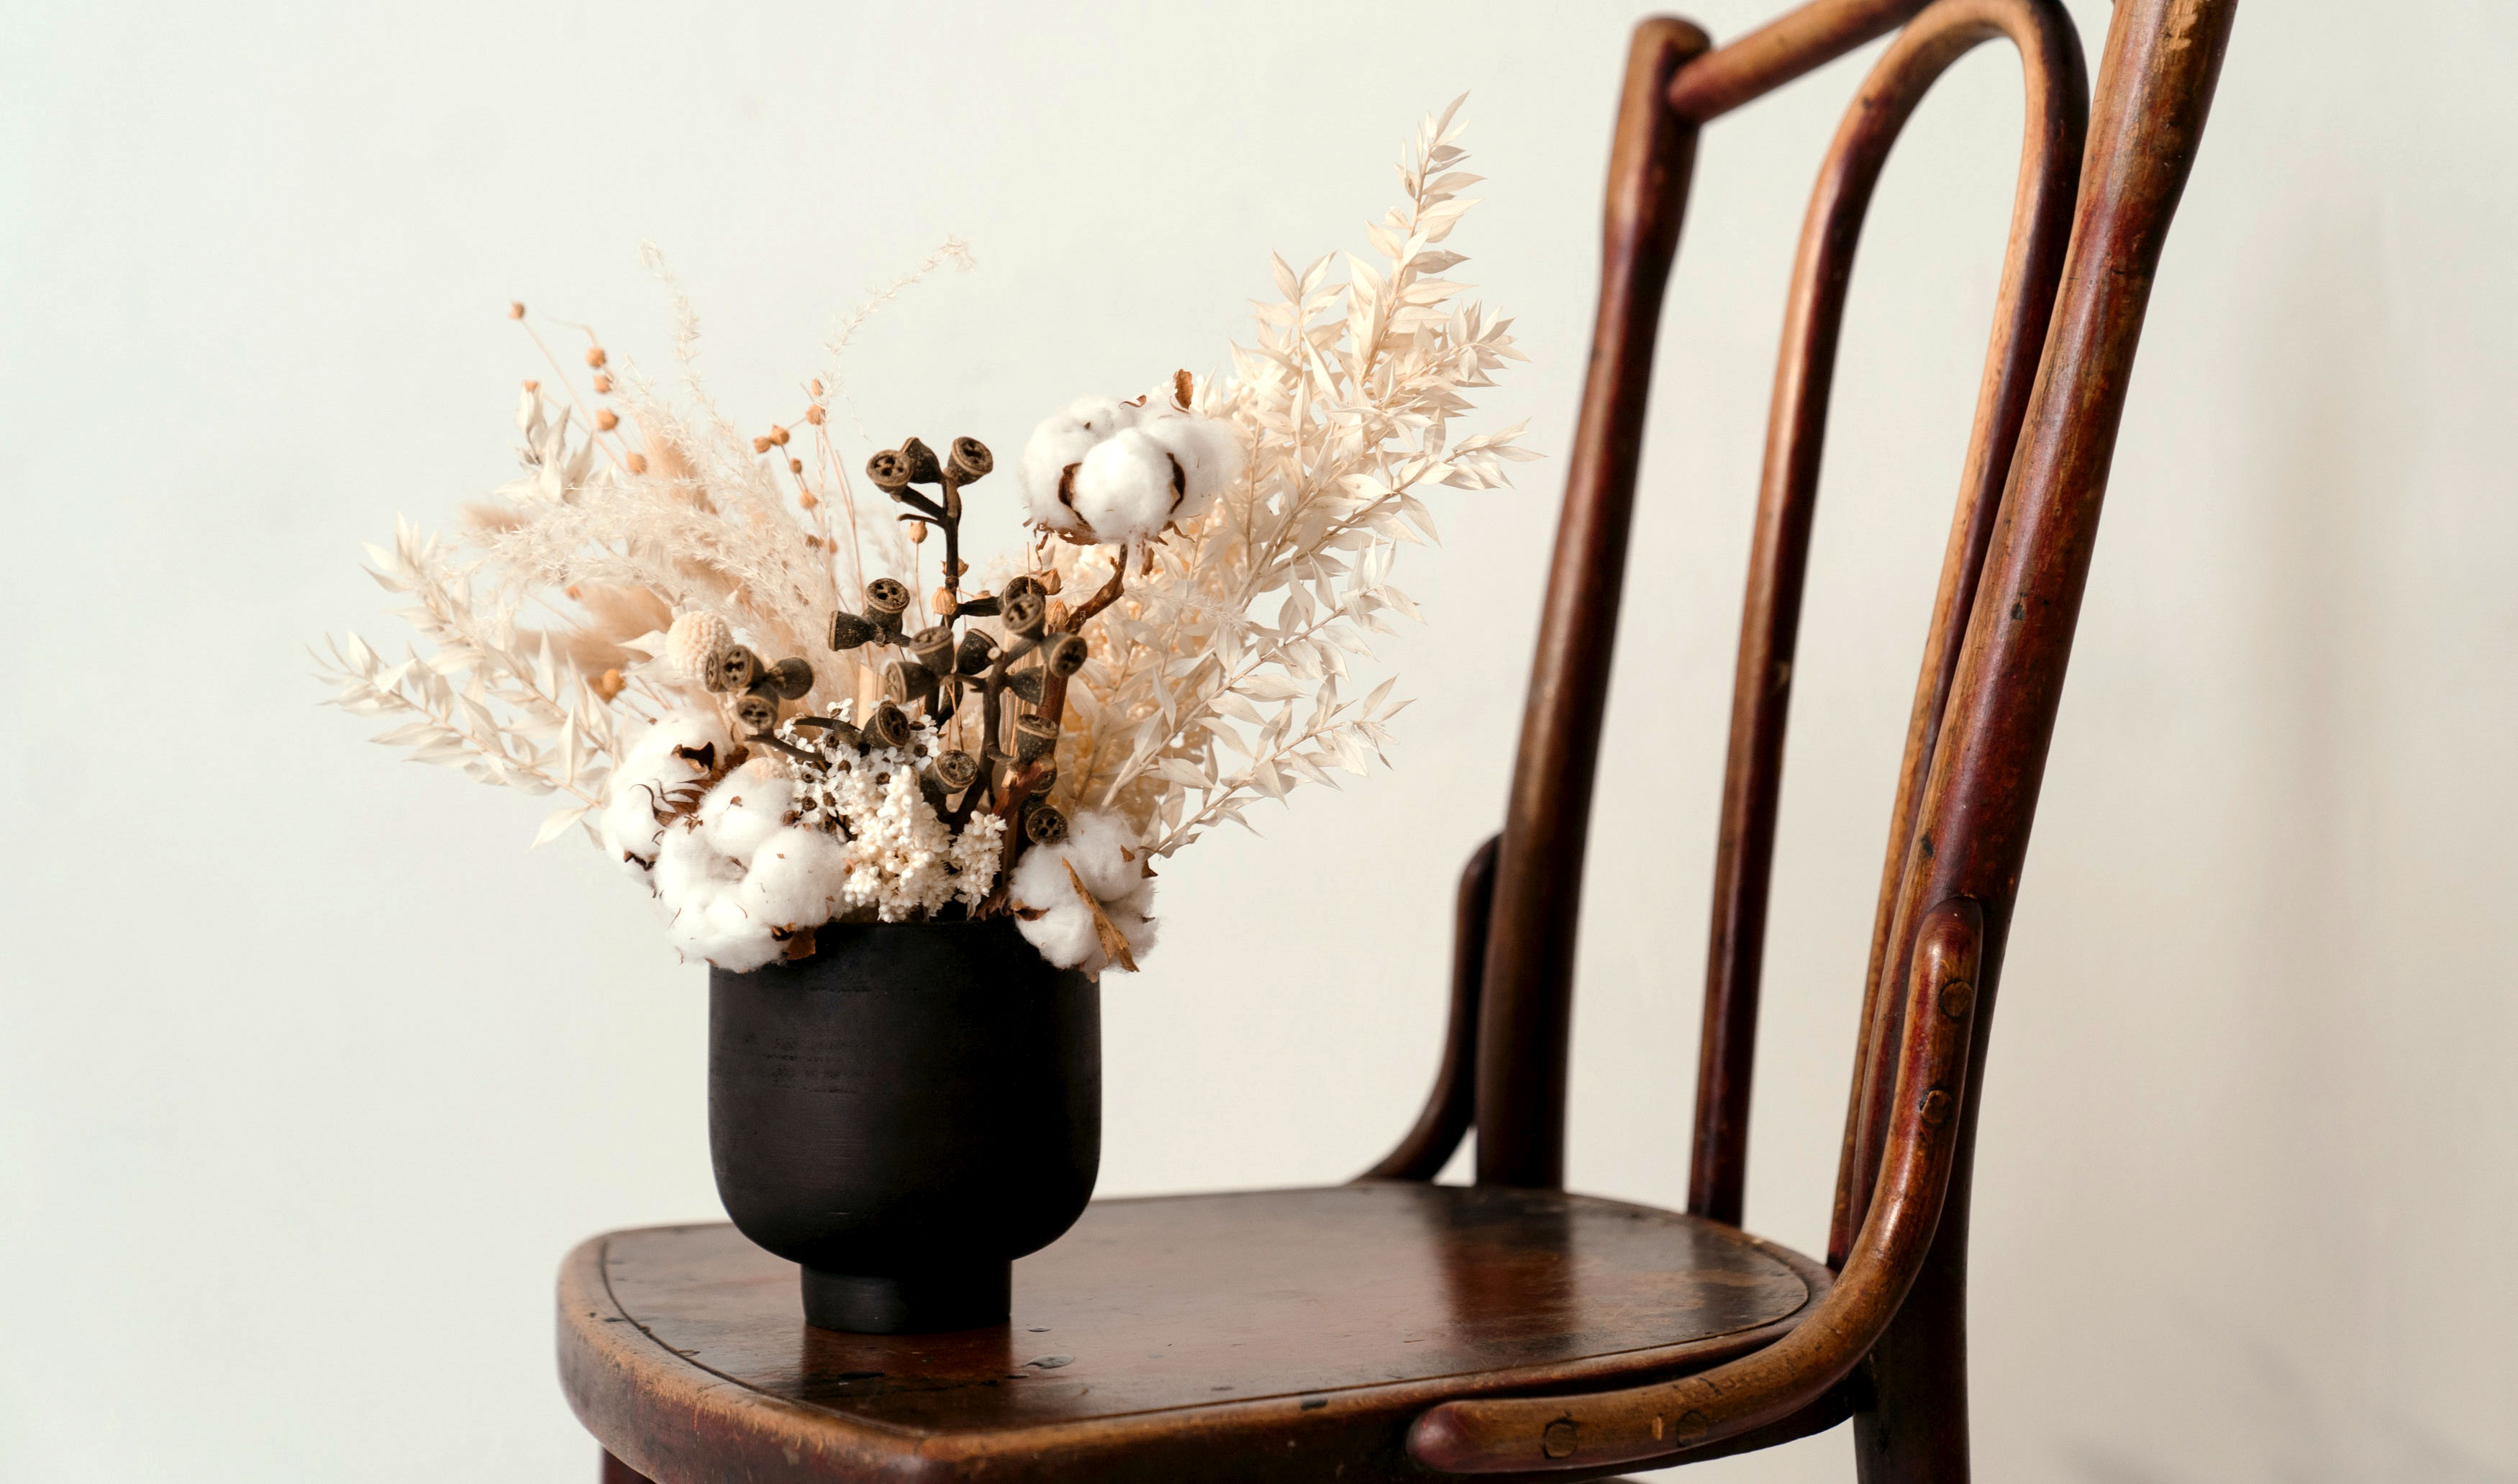
Dried Flowers Arrangement
Has your gorgeous fresh flower arrangement just died? Don’t chuck them away, instead preserve their beauty and turn them into a bouquet of dried flowers. Not only are dried flower arrangements stunning in their own right, but they are also a great way of preserving special memories, such as the bouquet from your wedding day or a Valentine’s Day bouquet.
Like with a fresh bouquet, you must select the right flowers; while most flowers can be dried, some flowers are easier to dry than others. Flowers that are almost at full bloom with low moisture levels are the ideal choice. Be careful to avoid flowers that have fully bloomed already as the petals risk falling off. Once you have chosen your flowers, follow these five easy steps to create your gorgeous dried flower arrangement:
Step 1: Remove Excess Foliage and Greenery
Like with a fresh flower bouquet, remove excess leaves and thorns as much as possible, gently cutting the stems to ensure that each stem is the same length.
Step 2: Gather the Flowers into Small Bunches
You must separate each type of flower that you intend to use, into small bunches, as each type of flower dries differently. It is also much easier to dry a small bunch of flowers, rather than one large bunch.
Step 3: Dry the Flowers
There are two main ways to dry flowers: air-drying and microwaving. Air-drying, which takes a few weeks, is a significantly lengthier process than microwaving the flowers. You may want to keep this in mind when preparing your arrangement, depending on how much time you have and when you would like the flowers for.
Leaving your flowers to air-dry: Tie your flowers together in small bunches and hang them upside down in a dark, cool, and dry place. Leave the flowers for two-three weeks until the flowers become dry and crisp.
Combine silica gel with fresh flowers: Silica gel absorbs all the moisture from the flowers. Place the gel into a microwaveable container, along with the flowers, and microwave them for a few minutes, depending on the size of the flower (smaller flowers will take quicker to dry). Then, brush the excess gel off the flowers with a fine brush and leave the flowers for 24 hours, keeping them away from direct sunlight.
Step 4: Preserve the Dried Flowers
Separate the flowers from their bunches and use hairspray, varnish or special flower preservative to spray or brush over the flowers in order to preserve the petals.
Step 5: Arrange the Flowers
Like with a fresh bouquet, you want to start with your biggest flowers first as these will form the focal point of your arrangement. Then add your smaller flowers, turning your bouquet in a circular movement as you add more. You can also add dried grass and more small dried flowers. To finish off, just wrap the stems with a tie of your choice, such as a rubber band or a ribbon.
Are you interested in expanding your flower arranging skills?
Check out our florist classes at The Flower School.
The Flower School by Flower Station, is located in an old glass structure, in a beautiful garden centre, situated in the heart of Hampstead Garden Suburb. Join us and learn an array of skills relating to plants and flower arranging.
Our flower arrangement classes are suitable for participants at all levels, catering for those with existing floristry experience who wish to expand their knowledge and total amateurs who simply want to enjoy a relaxing, enjoyable activity with friends.
We have a variety of courses on offer, ranging from vase flower arrangement courses to flower crown making courses. Whether you would like a full day course, a taster course or even an online course, there are multiple options to choose from.
For more details see: https://flower-school.co.uk/
Get in touch: hello@flower-school.co.uk or call us 02077247525
Posted by Libbi Cohen on 13th Jun 2022
You may also like

8 Simple Steps to Create an Impressive Flower Arrangement
Posted by Libbi Cohen on 13th Jun 2022
While vibrant, eye-catching flower arrangements may look expertly, they don't necessarily take an

How to Care for Hydrangea
Posted by The Flower School on 10th Aug 2021
The hydrangea is eye-catching flower equally arranged in a vase or potted. However, the hydrangea